Moving Diffraction Patterns
These are abstract patterns inspired by high energy X-ray diffraction images. Here I present a short narrative of how I developed these over the past six months.
Journey to the Center of the... Metal
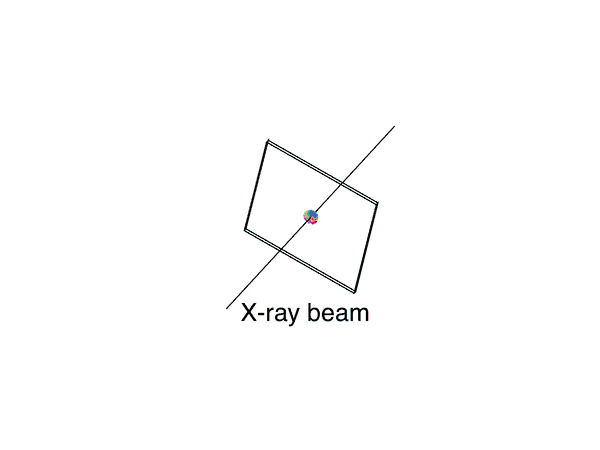
Most of us associate X-rays with hospitals and airports. But just like they can reveal bones inside our body and objects inside a suitcase, X-rays can be used to reveal the internal structure of a variety of materials. When metals for example are bombarded with a beam of powerful X-rays, we can observe that the metals are made up of tiny crystals called grains. The knowledge of the internal structure of the metals and how that structure changes during processing and use of the metallic objects can help us design better, stronger and lighter materials. One of the many research technique that uses X-rays to probe metals is called high energy diffraction microscopy (HEDM). A typical setup for an HEDM experiment is shown in the figure on the right. A metallic sample sits in the center, a focussed beam of X-rays comes from the right and a square detector on the left records the X-rays after they have interacted with the sample.

A typical experimental setup used to perform high energy X-ray diffraction experiments to reveal the internal structure of metals.
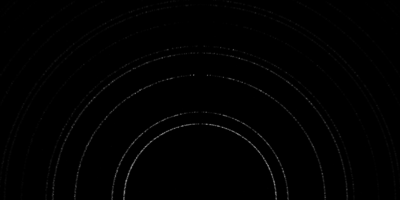
An image obtained when a metal is bombarded with a focussed beam of high energy X-rays.
The Spots
When X-rays interact with a metal, the atoms scatter those rays in different directions. If the detector recording the scattered X-rays is placed around a meter away from the sample, we get a pattern comprising of spots as shown on the left. Each spot corresponds to a tiny crystal in the metallic sample. One day, while I was looking at one such pattern, I thought what if I colored each spot differently? That would look pretty cool. It did, but there was a lot of empty space between the spots which kind of took away the vibrance of the colorful spots.
What if we Moved the Detector at Will?
If the detector is moved while acquiring the X-ray pattern, then the spots will turn into streaks or even smooth curves. This is schematically shown in the animation on the right. You wouldn't want to ruin an experiment by doing this though. So I simulated an X-ray diffraction pattern while the detector was rotating. Some of such patterns are shown below. At first I just recorded the position of the spots in the plane of the detector. So these patterns are 2D. Still I like them a lot.
An illustration showing the movement of the detector and resulting patterns obtained from the colorful spots.
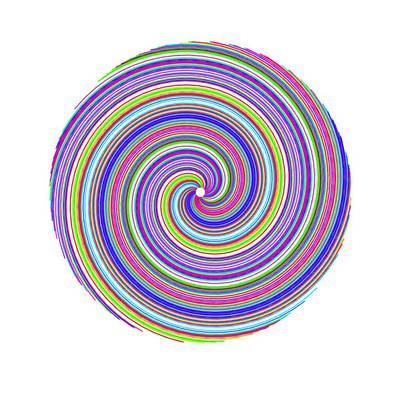
A 2D pattern obtained by moving the detector along the beam direction and rotating it along the beam axis.
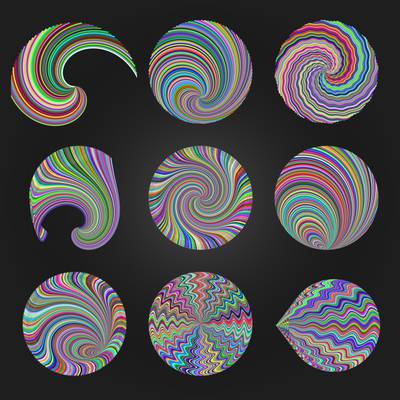
A collection of 2D patterns generated by moving the detector in various ways.
A New Dimension
Turning the 2D patterns into 3D is pretty straight forward. Imagine we move the detector along the beam direction and then record the position of each spot in full 3D. This gives us a lot more freedom is creating some very interesting patterns. At first, I exported the 3D patterns created in MATLAB to the VRML format and then uploaded them to Sketchfab. One such model is shown below. But then I started rendering the patterns in Blender.

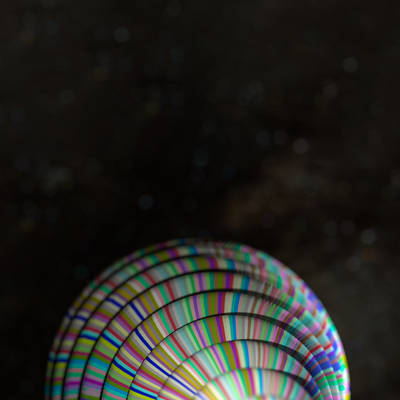
A 3D pattern generated using Matlab, Python and Blender. I used the Cycles render engine in Blender.
A 3D pattern generated using Matlab, Python and Blender. I used the Cycles render engine in Blender. I used a shot of milky way that I had taken last year as the background.
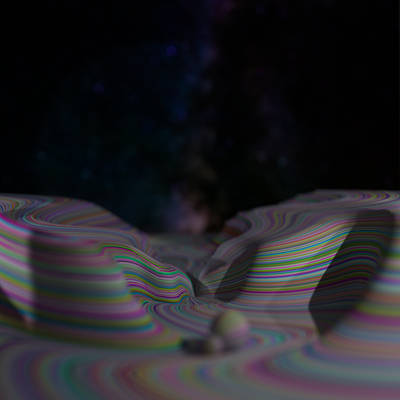
A 3D pattern generated using Matlab, Python and Blender. I used the Cycles render engine in Blender. I used a shot of milky way that I had taken last year as the background.
Blending it all Together
I like the Blender approach better because of the ability it gives to create more complex compositions. And another aspect is that you can use various props and materials contributed online by the vast Blender community. This gives you tremendous creative freedom. I used the Cycles rendering engine in Blender that allowes creating some fantastic effects like shallow depth of field, bokeh, realistic textures and lighting.
I liked the renders so much, I printed one of them and framed it! Now I am thinking about what could be the next project on these lines. Perhaps some SVG/CSS based animations with abstract patterns like these.
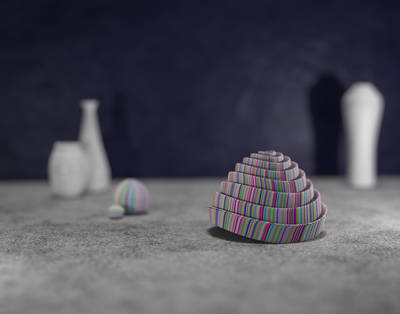
A composition rendered in Blender with shallow depth of field and a few props. Cracked stone material courtesy of Palaes and fine concrete material courtesy of tuomope at Blendermada (Released under CC-0 license). Decorative vases courtesy of Timbazy (Released under CC-BY license).
- design
- photo-story